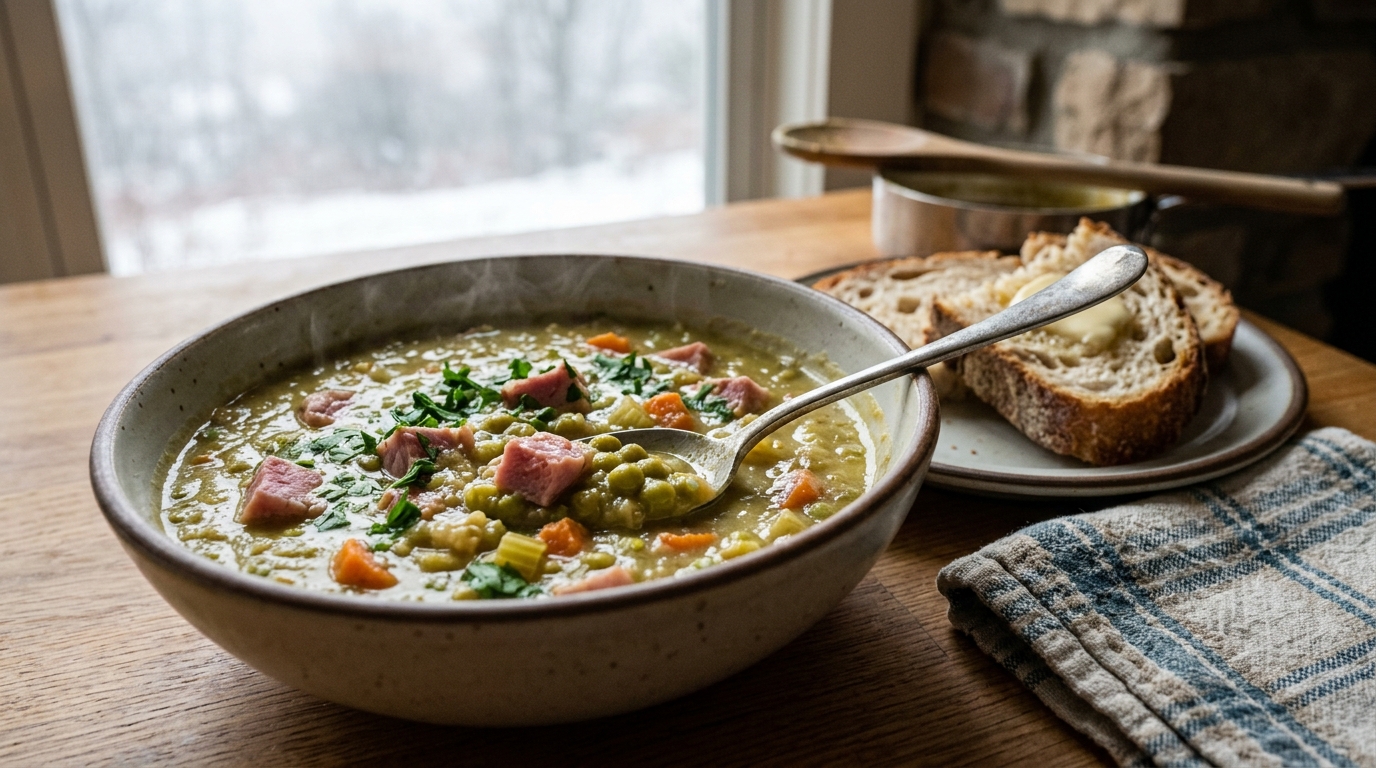
Store-bought lasagne sheets get the job done — but homemade pasta sheets are thinner, silkier, and cook into something fundamentally different. Once you make them from scratch, going back feels like a compromise. This guide teaches you everything: the right flour, the right technique, and how to roll, cut, and use them perfectly every time.
Thank you for reading this post, don't forget to subscribe!
Why Bother Making Lasagne Sheets from Scratch?
It’s a fair question. Dried lasagne sheets are cheap, widely available, and work perfectly well in most recipes. So why spend the time making your own?
Because fresh homemade lasagne sheets are a categorically different product.
Dried pasta is made from semolina and water — it’s designed for shelf stability and holds its structure under long cooking. Fresh egg pasta is made from soft wheat flour and eggs — it’s tender, silky, and delicate. When you layer fresh pasta sheets with sauce and cheese and bake them, the pasta absorbs the surrounding flavors in a way dried pasta simply cannot. The result is a lasagne that’s cohesive, rich, and almost custard-like in texture — layers that melt together rather than sitting in distinct, slightly chewy stacks.
There’s also a practical advantage: fresh pasta sheets cook in the oven with no pre-boiling required, they can be made thinner than any dried product, and you can size them exactly to your baking dish.
The investment is about 45 minutes of hands-on time and almost zero cost. What you get in return is a lasagne that tastes genuinely homemade in every sense of the word.
Understanding the Ingredients: Flour, Eggs, and Nothing Else
Homemade pasta is one of the purest recipes in cooking — it has two ingredients. Getting both right matters.
The Flour
This is the most consequential decision in fresh pasta making, and it’s where most beginner guides give incomplete advice.
| Flour Type | Protein Content | Texture Result | Best For |
|---|---|---|---|
| 00 flour (Tipo 00) | 10–12% | Silky, smooth, very tender | Delicate pasta, traditional Italian lasagne |
| All-purpose flour | 10–12% | Slightly rougher, more rustic | Everyday pasta, works well |
| Semolina flour (fine) | 12–13% | Firmer, more bite, slightly yellow | Rustic pasta, added texture |
| 00 + semolina blend (50/50) | ~12% | Best of both: silky but with structure | The professional standard |
| Bread flour | 12–14% | Tough, chewy — avoid for lasagne sheets | Not recommended |
The recommendation: For lasagne sheets specifically, use either 100% 00 flour or a 50/50 blend of 00 flour and fine semolina. The 00 flour produces the most tender, delicate sheets. The semolina blend adds a slight firmness that holds up better during assembly and baking — particularly useful for heavily sauced lasagnes.
If you can’t find 00 flour, all-purpose flour works well. The sheets will be slightly less silky but still dramatically better than anything from a box.
The Eggs
Traditional Italian fresh pasta uses whole eggs for richness and structure, sometimes with added yolks for extra richness and a deeper golden color. The ratio matters:
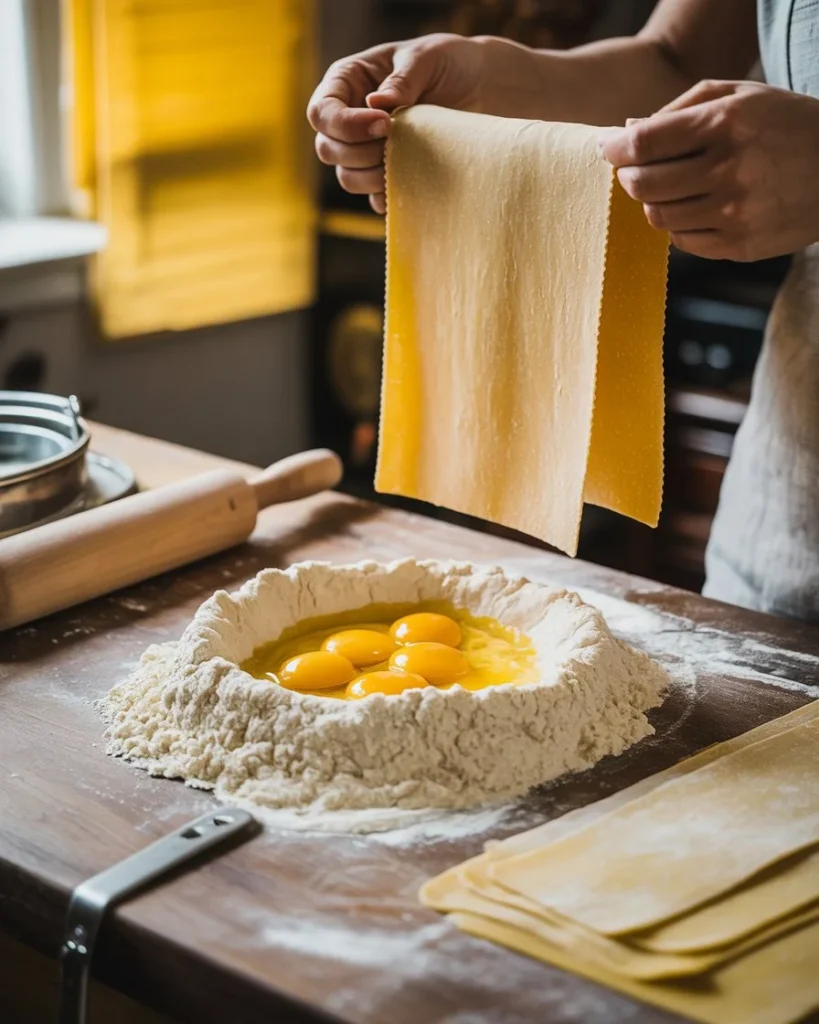
Standard ratio (reliable, balanced): 100g flour : 1 whole egg
Rich ratio (restaurant style, deeply golden, more tender): 100g flour : 1 whole egg + 1 extra yolk
The extra yolk adds fat and lecithin, which makes the pasta more pliable to roll, richer in flavor, and more golden in color. For lasagne sheets — where you want maximum tenderness — the extra yolk ratio is worth using.
Egg temperature: Use room temperature eggs. Cold eggs make the dough stiffer and harder to knead and roll. Take them out of the fridge 30 minutes before you start.
Oil and Salt
Some recipes add a small drizzle of olive oil (about 1 tsp per 100g flour) and a pinch of salt to the dough. The oil adds a slight suppleness that makes rolling easier. Salt adds flavor. Neither is traditional in all regions of Italy, but both have practical benefits — especially for beginners.
The Master Recipe: Homemade Lasagne Pasta Sheets
This recipe makes enough sheets for a standard 9×13 inch (23x33cm) lasagne — approximately 6 layers or enough sheets to assemble a generous 6–8 portion lasagne.
Ingredients
- 300g 00 flour (or 150g 00 flour + 150g fine semolina)
- 3 whole eggs (room temperature)
- 1 extra egg yolk (room temperature)
- 1 tsp extra virgin olive oil (optional but recommended)
- Pinch of fine salt
- Extra flour for dusting
Makes approximately 8–10 large lasagne sheets
Step 1: Make the Dough
The well method (traditional): Mound the flour on a clean work surface and make a wide, deep well in the center — large enough to hold the eggs without them spilling over. Crack the eggs and yolk into the well, add the olive oil and salt. Using a fork, beat the eggs gently in the well, gradually incorporating flour from the inner walls. Work slowly — if you rush this step and break the well, you’ll have eggs running across your counter.
Once the mixture becomes too thick to work with a fork (it will look shaggy and rough), use your hands to bring everything together into a rough ball, incorporating any remaining flour from the work surface.
The bowl method (easier for beginners): Combine flour and salt in a large bowl. Make a well in the center, add eggs, yolk, and oil. Mix with a fork until shaggy, then turn out onto a work surface to knead. This method gives you more control and less mess.
How much flour to use: The exact amount varies based on egg size and humidity. Add flour gradually — you can always incorporate more, but you can’t take it out. The dough should come together without sticking to your hands, but shouldn’t be so dry that it cracks.
Step 2: Knead — This Step Matters More Than You Think
Kneading fresh pasta dough is not optional. The process develops the gluten network that gives the pasta structure and allows it to be rolled thin without tearing. Under-kneaded dough tears easily, has a rough texture, and bounces back aggressively when you try to roll it.
Technique: Push the dough away from you with the heel of your hand, fold it back toward you, rotate 90 degrees, repeat. This is different from bread kneading — you’re stretching and folding rather than pressing down hard.
Duration: Knead for 8–10 full minutes by hand. The dough is ready when:
- The surface is smooth and almost glossy
- It springs back slowly (not immediately) when you poke it
- It feels soft and supple, like firm playdough
- There are no visible rough patches or cracks
This feels like a long time. It is. Don’t cut it short — properly kneaded dough rolls out dramatically more easily and produces a better final texture.
Mixer alternative: A stand mixer with a dough hook on medium speed for 5–6 minutes produces comparable results. Finish with 1–2 minutes of hand kneading to check the texture.
Step 3: Rest the Dough
Wrap the dough tightly in plastic wrap and rest at room temperature for 30–60 minutes minimum.
This rest is not optional and it’s not just about convenience — it’s structural. During kneading, the gluten network tightens up significantly. Resting allows the gluten to relax, which makes the dough far more pliable and dramatically easier to roll thin. Dough that hasn’t rested fights back against the rolling pin, springs back to its original thickness, and is prone to tearing.
After 30 minutes, the dough will feel noticeably softer and more relaxed. After 60 minutes, it will roll like silk.
If you need to rest it longer, refrigerate (wrapped well) for up to 24 hours. Bring back to room temperature for 30 minutes before rolling.
Step 4: Roll the Sheets
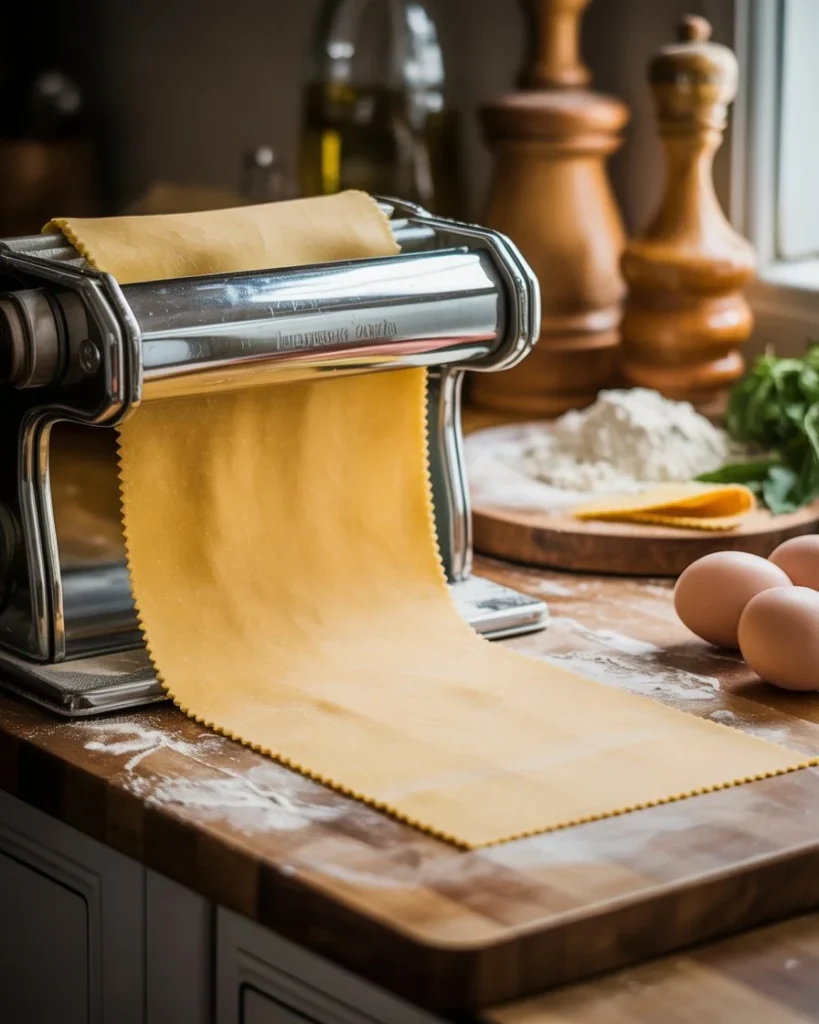
Divide the dough into 4 equal portions. Work with one portion at a time and keep the others wrapped — exposed dough dries out quickly and becomes difficult to work with.
Lightly dust your work surface with flour — just enough to prevent sticking, not so much that the dough slides and can’t grip the surface.
Rolling by Hand (Traditional Method)
Flatten the dough portion with your palm, then use a long rolling pin to roll from the center outward. Rotate the dough 90 degrees after each few passes to keep it even. Work gradually — don’t try to achieve the final thickness in a few aggressive rolls.
Target thickness: For lasagne sheets, roll to approximately 1.5–2mm — thin enough to see your hand through it very faintly when held up to light, but not so thin that it tears when handled.
Rolling by hand is slower than a pasta machine but produces sheets with a slightly more irregular, rustic quality that many cooks prefer for their character.
Rolling by Pasta Machine (Recommended)
A pasta machine (either hand-cranked or stand mixer attachment) makes achieving consistent, even thickness significantly easier.
Step-by-step with a pasta machine:
- Flatten the dough portion roughly with your hands
- Set the machine to the widest setting (usually #1)
- Pass the dough through — it will come out rough and uneven; this is normal
- Fold the sheet in thirds (like a letter) and pass through again on #1 — this further develops the gluten and smooths the sheet
- Repeat the fold-and-pass 3–4 times on the widest setting until the sheet is smooth
- Without folding, progressively narrow the settings: #2, #3, #4, and so on
- For lasagne sheets, stop at setting #5 or #6 on most machines (1.5–2mm)
- Cut to size as you go
Why fold at the beginning? The folding-and-passing technique on the widest setting essentially replaces some of the hand kneading and produces a noticeably smoother, more even sheet — a technique used in virtually every Italian pasta-making kitchen.
Step 5: Cut to Size
Once rolled, cut the sheets to fit your baking dish. Measure the interior dimensions of your dish and cut sheets to cover the bottom in a single layer, with about 1cm overlap on the sides.
For a standard 9×13 inch dish:
- Most pasta machine sheets are about 5–6 inches wide — you’ll need 2–3 strips per layer placed side by side
- Cut strips to the length of your dish with a sharp knife or pastry wheel
Trimming tip: A pizza cutter or fluted pastry wheel cuts fresh pasta sheets quickly and cleanly. A sharp chef’s knife also works — use a decisive single cut rather than sawing.
Step 6: Dry or Use Immediately
Fresh pasta sheets can be:
Used immediately: Best option — the pasta is at its most pliable, easiest to handle, and hasn’t dried at all. Use within 30–60 minutes of rolling.
Rested on a drying rack: Drape sheets over a pasta drying rack or the back of a chair for 15–30 minutes before using. Slight drying makes the sheets slightly firmer and easier to handle when layering.
Dried completely: If you need to store them, lay sheets flat on parchment-lined baking sheets, dust with semolina or flour to prevent sticking, and allow to dry completely at room temperature (2–4 hours) or use a low oven (170°F / 75°C) for 30 minutes. Once fully dry, store in an airtight container for up to 2 days, or freeze for up to 1 month.
Freezing fresh sheets: Lay sheets flat on parchment, freeze until solid (1–2 hours), then stack with parchment between each sheet and store in a zip-lock bag. Use from frozen — place directly in your lasagne without thawing.
How to Use Fresh Lasagne Sheets in a Lasagne
Do You Need to Pre-Cook Fresh Lasagne Sheets?
Generally, no — and this is one of the key advantages of homemade sheets over dried.
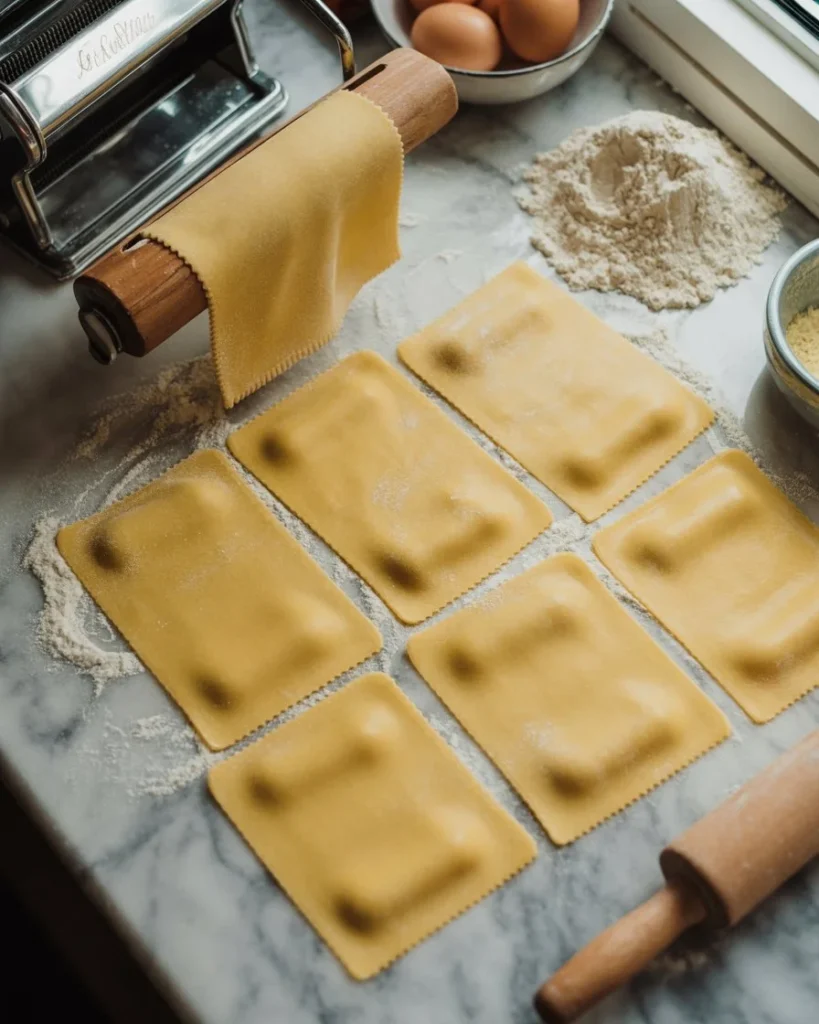
Fresh pasta sheets rolled to 1.5–2mm will cook fully in the oven, absorbing moisture from the sauce as they bake. No pre-boiling required — as long as there is sufficient sauce to provide the moisture needed to cook the pasta through.
The rule: Your lasagne should have enough sauce that it looks slightly wetter than you think it needs before going into the oven. The pasta absorbs a significant amount of liquid during baking. A lasagne assembled with too little sauce will have undercooked, tough pasta in the center.
When to Briefly Blanch Fresh Sheets
For very thick sheets (over 2.5mm), or if your sauce is on the drier side, briefly blanching the sheets before assembly ensures they cook evenly:
- Bring a large pot of well-salted water to a rolling boil
- Add sheets one or two at a time
- Cook for 60–90 seconds only — they’ll continue cooking in the oven
- Remove with tongs or a spider and transfer immediately to a bowl of ice water
- Drain and lay flat on kitchen towels — pat dry before using
Layering Tips for Best Results
- Never stretch the sheets to fit — a slight overlap is better than a torn sheet pulled thin
- Offset the seams between layers so they don’t stack in the same position
- Start and finish with sauce — sauce on the bottom prevents the bottom layer from sticking; sauce on top prevents the top layer from drying out
- Press each layer gently after adding it to eliminate air pockets
- Cover with foil for the first 30 minutes of baking, then uncover to brown the top
Troubleshooting: Common Problems and How to Fix Them
| Problem | Cause | Fix |
|---|---|---|
| Dough tears when rolling | Under-kneaded or under-rested | Rest 30 more minutes; knead longer next time |
| Dough springs back and won’t stay thin | Gluten too tight — needs more rest | Rest 20–30 more minutes at room temp |
| Sheets stick to machine or surface | Too much moisture in dough or not enough flour dusting | Dust more generously with flour |
| Sheets dry out too fast | Exposed to air too long | Cover rolled sheets with a clean damp cloth |
| Pasta too tough after baking | Too thick, or sauce too dry | Roll thinner; add more sauce before baking |
| Pasta mushy after baking | Too thin, or over-sauced | Roll to 1.5–2mm; reduce sauce slightly |
| Dough too sticky to work with | Too much egg or humid environment | Add flour 1 tbsp at a time until workable |
| Dough too dry and crumbly | Not enough egg or too much flour | Add 1 tsp water at a time, knead in |
| Uneven thickness | Uneven rolling pressure | Use a pasta machine; roll from center outward |
| Sheets have rough texture after cooking | Under-kneaded dough | Knead full 8–10 minutes next time |
Flavor Variations: Beyond Plain Egg Pasta
Once you’ve mastered the basic dough, you can make colored and flavored pasta sheets that add visual drama and subtle flavor to a finished lasagne.
Spinach Pasta Sheets (Green)
Add to the base recipe:
- 80g fresh spinach, blanched for 60 seconds, squeezed completely dry, and finely blended into a smooth paste
- Reduce eggs by 1 yolk to compensate for added moisture
Spinach pasta has a delicate vegetal flavor and a beautiful deep green color that fades slightly during baking but remains visually striking in the finished dish. Classic for spinach and ricotta lasagne.
Important: The spinach must be squeezed as dry as humanly possible — any excess moisture will make the dough sticky and difficult to work with and will alter the flour-to-liquid ratio.
Beetroot Pasta Sheets (Deep Red/Purple)
Add to the base recipe:
- 2 tbsp concentrated beetroot juice or 50g roasted beetroot, puréed and strained
- Reduce liquid accordingly
Beetroot pasta has a mildly earthy, slightly sweet flavor and a stunning deep crimson color. Pairs beautifully with goat cheese, ricotta, and walnut-based fillings.
Squid Ink Pasta Sheets (Black)
Add to the base recipe:
- 2 sachets (8g total) squid ink, added to the eggs before mixing
Squid ink pasta is dramatically black with a subtle briny, oceanic flavor. Visually spectacular in a seafood lasagne.
Herb Pasta Sheets
Roll flat-leaf parsley, basil, or sage leaves into the pasta sheet for a decorative effect:
- Roll the sheet to medium thickness
- Place herb leaves on one half of the sheet
- Fold the other half over the herbs and gently press
- Pass through the pasta machine one final time to press the herbs in
- Hold up to light — the herbs will be visible through the translucent pasta
This is purely decorative but creates a stunning presentation, particularly for the top layer of a lasagne.
Frequently Asked Questions
What flour is best for homemade lasagne sheets? 00 flour is the traditional choice and produces the smoothest, most tender sheets. A 50/50 blend of 00 flour and fine semolina is the professional standard — it gives you silkiness from the 00 and just enough firmness from the semolina to hold up during assembly and baking. All-purpose flour works well as a substitute if 00 isn’t available.
How thin should lasagne sheets be? For lasagne specifically, 1.5–2mm is the ideal thickness — thin enough to be tender and delicate, thick enough to hold together during assembly and baking. On most pasta machines, this is setting #5 or #6. Sheets thinner than 1.5mm are fragile and may dissolve into the sauce; thicker than 2.5mm and they risk being undercooked in the center.
Can you make lasagne sheets without a pasta machine? Yes — a long, heavy rolling pin and patience produce excellent results. The key is rolling gradually from the center outward, rotating the dough regularly to keep it even, and resting the dough properly so it rolls without fighting back. The sheets may be slightly less uniform in thickness than machine-rolled, but many cooks prefer the slightly rustic quality.
How far in advance can you make fresh lasagne sheets? Fresh pasta sheets can be made up to 24 hours ahead and refrigerated (well wrapped). They can be dried and stored at room temperature for up to 2 days. For longer storage, freeze them — lay flat on parchment until solid, then stack with parchment between sheets. Use directly from frozen, placed straight into the assembled lasagne.
Why is my pasta dough too tough to roll? Almost always under-resting. Even well-kneaded dough becomes very tight after kneading and needs 30–60 minutes of rest for the gluten to relax. If the dough is fighting back aggressively when you try to roll it, wrap it up and let it rest another 20–30 minutes — this almost always solves the problem.
How much fresh pasta dough do I need for a lasagne? For a standard 9×13 inch (23x33cm) lasagne dish with 6 layers, you need approximately 300–350g of dough (made from 300g flour). For a deeper dish or more layers, scale up to 400g flour. It’s better to make slightly more than you think you need — leftover pasta dough can become tagliatelle or be refrigerated for the next day.
Can you use fresh lasagne sheets without cooking them first? Yes — one of the main advantages of fresh pasta over dried. Fresh sheets rolled to 1.5–2mm will cook fully in the oven as long as there is sufficient sauce to provide moisture. The lasagne should look slightly wetter than finished before going into the oven — the pasta absorbs a significant amount of liquid during baking. For very thick sheets or dry sauces, a brief 60–90 second blanch before assembly ensures even cooking.
Quick-Reference Summary
| Step | Key Detail | Common Mistake |
|---|---|---|
| Flour choice | 00 flour or 00 + semolina blend | Using bread flour — too tough |
| Egg ratio | 1 egg + 1 yolk per 100g flour | Using only whites — no richness |
| Egg temperature | Room temperature | Cold eggs = stiff dough |
| Kneading time | 8–10 minutes by hand | Under-kneading — tears when rolling |
| Rest time | 30–60 minutes minimum | Skipping rest — dough springs back |
| Rolling thickness | 1.5–2mm (#5–6 on most machines) | Too thick = undercooked pasta |
| Work in batches | Keep unused dough covered | Dough dries out and cracks |
| Pre-cooking | Not needed if sauce is sufficient | Over-boiling — pasta becomes too soft |
| Sauce amount | Wetter than you think before baking | Too little sauce = tough, dry pasta |
| Layering | Offset seams between layers | Stacking seams = weak structural points |
The Bottom Line
Homemade lasagne pasta sheets are one of those kitchen projects that seem more involved than they are. The ingredient list is two items. The technique is kneading, resting, and rolling. The total hands-on time is under an hour. What you get at the end — silky, delicate sheets that melt into your lasagne and absorb every flavor around them — justifies every minute of it.
The biggest mistakes are rushing the knead and skipping the rest. Give the dough time to develop and time to relax, and it will roll out obediently into something genuinely beautiful.
Make a batch on a Sunday afternoon, layer it into a lasagne for dinner, and you’ll understand why Italian home cooks have been making this by hand for centuries. Some things are just better done from scratch.
Made your first batch of homemade lasagne sheets? Tell us in the comments what filling you used — we’d love to hear how it turned out.